The interface at a glance
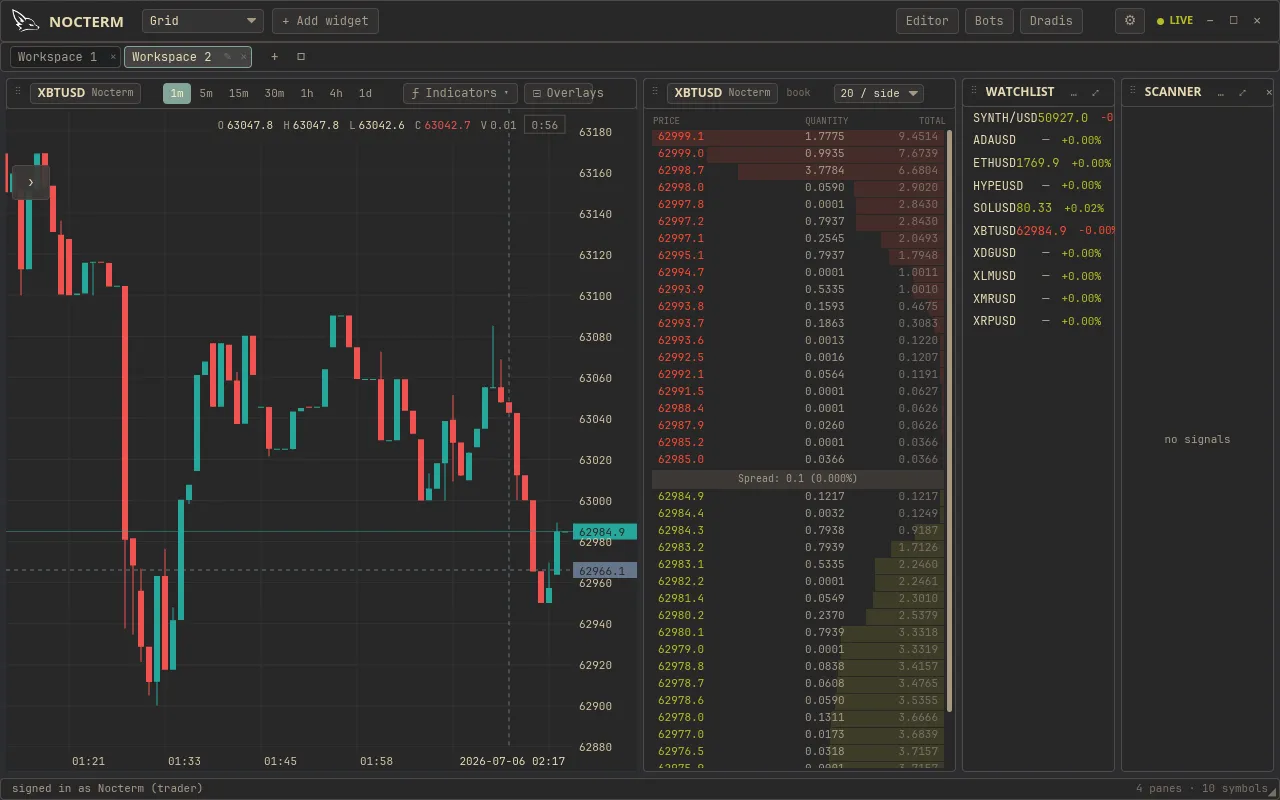
Everything in Nocterm lives inside a workspace - a grid of panels you arrange yourself. A typical layout puts a chart in the middle, with side panels around it and a top bar across the top. This tour names the main areas so the rest of the docs make sense.
Overview
Section titled “Overview”There is no fixed screen - you build the one you want out of panels. The chart usually anchors the middle, the side panels carry the feeds and controls you act on, and the top bar lets you switch between workspaces and reach settings. The panel you are focused on drives what the side panels show.
How to use
Section titled “How to use”-
Find the chart in the middle. It is the panel you spend most of your time reading.
-
Look at the side panels around it. A common set is the Active Setups feed, a trade ticket, and a watchlist or scanner.
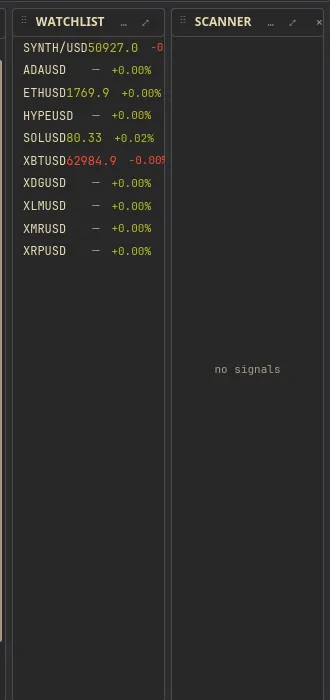
Side panels - Active Setups, trade ticket, and watchlist -
Use the top bar to switch workspaces with the workspace switcher and open settings from the gear.

The top bar with the workspace switcher and settings gear -
Click a panel to focus it. The side panels follow the focused panel, so its symbol flows into the setups feed and trade ticket.
Main areas
Section titled “Main areas”| Area | What it is |
|---|---|
| Chart | The central panel you read price and order flow on |
| Side panels | Feeds and controls - Active Setups, trade ticket, watchlist, scanner |
| Top bar | Workspace switcher and the settings gear |
| Focused panel | The panel you clicked, which drives the side panels |
Related
Section titled “Related”- Workspaces - create and switch the grids this tour describes.
- Panel types reference - every widget you can drop into a workspace.
- Focused panel & symbol linking - how side panels follow the chart.